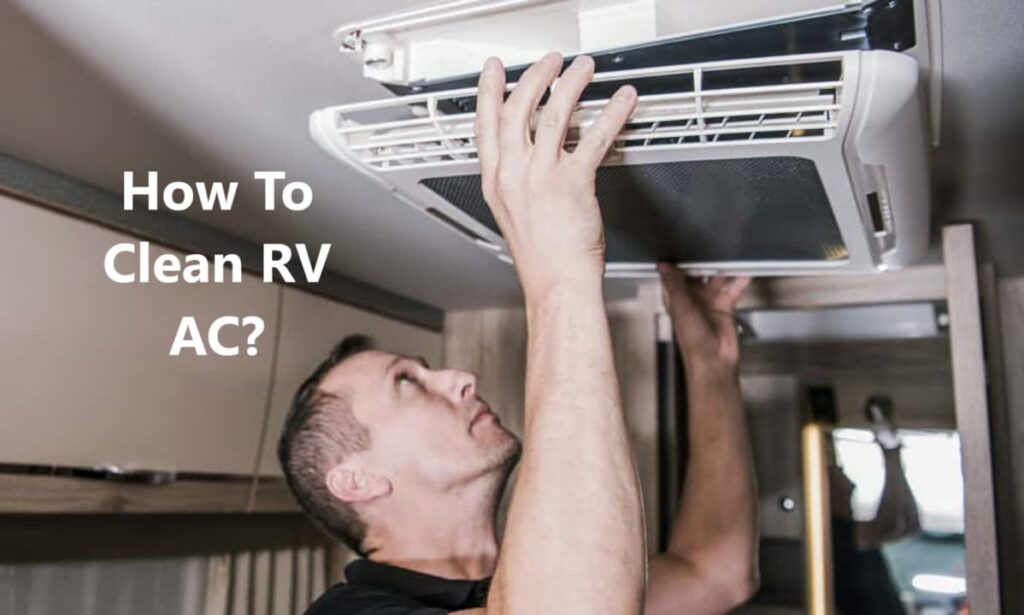
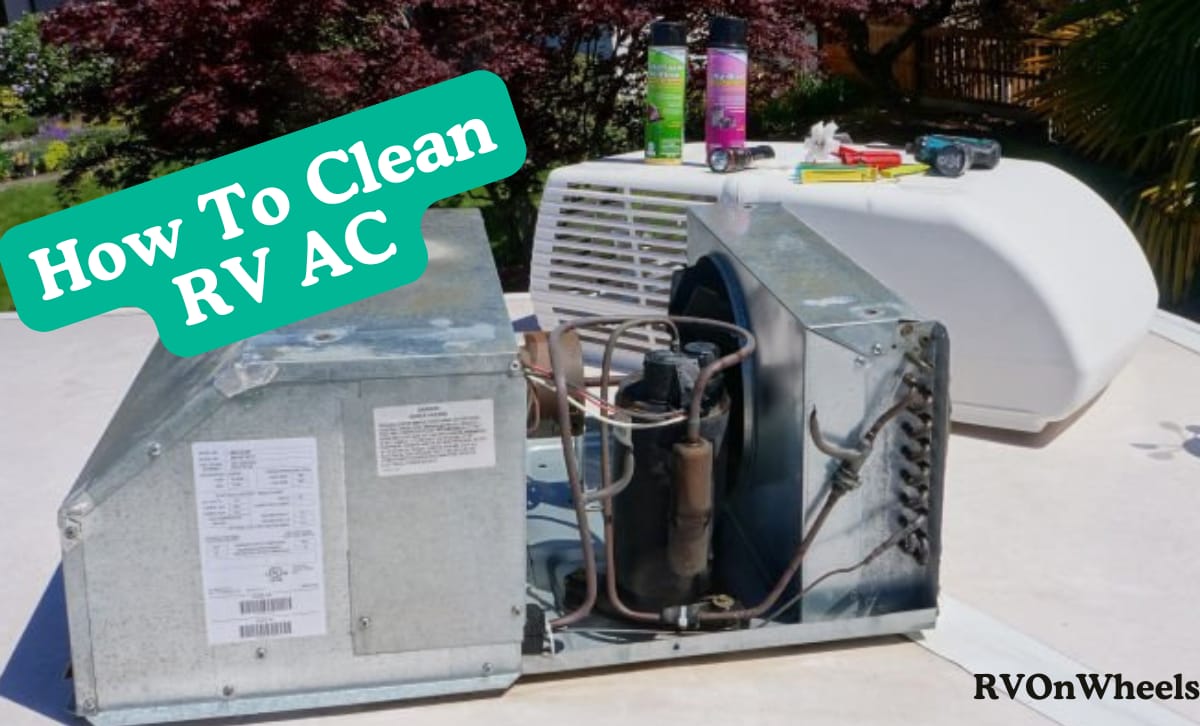
To clean your RV AC, start by inspecting and cleaning the air filter, then wipe down the shroud. Next, clean the coils using a soft brush and coil cleaner, and check the AC seal for any damage.
It is a straightforward and easy process but requires attention to detail and precision. Follow the step-by-step instructions below to clean your AC and improve its cooling.
After reading this blog post, you will know how to clean the RV AC by yourself. Moreover, we will share several ways to resolve the common Ac problems as well. Let’s quickly get into the details of this guide to help you take care of your RV AC!
Understanding Your RV AC System Before Cleaning
An RV AC removes heat from the air inside your RV, allowing the inner temperature to cool down. It has a unit’s evaporator coil, which absorbs the heat. The pumping action of the unit’s compressor then pumps the heat out of the RV to the condenser coil to the exterior of the RV. Let’s break down the functioning of the RV AC system.
- The evaporator blower draws warm air into the AC through the return air grill and then filters it over the cold evaporator.
- The refrigerant then extracts the heat and moisture from that warm air.
- The warm air allows the refrigerant’s state to change from liquid to gas at low pressures.
- Cool air is returned inside of your RV.
- The gas is passed from the accumulator to the compressor, compressing it to a higher pressure.
- That high-pressure gas travels into the condenser coil, where the cool air from outside is pulled in through louvers in the RV air conditioner’s shroud and passed over the coil.
- That cooler air transforms the high-pressure gas into a liquid that goes into the evaporator.
Understanding your RV AC is essential before cleaning to avoid damage and ensure effective maintenance.
Signs Your RV AC Needs Cleaning
When to clean your RV? Well, some signs and symptoms indicate it’s time to clean the RV AC.
- Decreased Cooling Capacity: If your AC struggles to keep the RV cool, it may be due to a decrease in the unit’s capacity. This often happens when debris and dirt have built up inside the AC. It’s an excellent time to clean the AC.
- Strange Sounds: Strange sounds from your AC indicate that dirt and debris are building up inside. This is a sign that your AC needs cleaning.
- Insufficient Airflow: Low air pressure from the air conditioner may indicate something obstructing the air duct. Check and clean the air duct as a possible solution.
- Leakages: Clogged drains or dirty coils can cause leakage in the AC. Cleaning the unit can resolve this issue.
These were some important indications that I’ll let you know when your RV AC needs cleaning, now coming to the safety precautions.
Safety Precautions Before You Begin
Before you start cleaning the air conditioner, following a few steps for your safety and ACs is essential. Avoid a few things to ensure the cleaning process goes smoothly. Also, the right equipment should be arranged to make the process more efficient. Here are some don’ts that you must avoid.
Don’t Use Harsh Chemicals
The AC components are made up of delicate material. Cleaning them with chemicals like bleach, ammonia, or other cleaning agents can be harmful. The manufacturer recommends a specialized RV air conditioner cleaner.
Don’t Use A Pressure Washer
Using a pressure washer to clean the AC is a good option. But actually, it damages the AC components. Use a soft-bristled brush or a hose to clean and remove dirt and debris that might have gathered outside the unit.
Don’t Forget To Replace Air Filters
A clean air filter improves the efficiency of your AC. A clogged air filter restricts airflow, reducing cooling performance and energy consumption. Make sure to replace the air filter every 6 months or as the manufacturer recommends.
Don’t Overlook The Ducts
Air ducts can gather dust, air, and other impure substances over time. This directly affects the cooling ability of the air conditioner. To avoid this, clean the air ducts regularly with a soft-bristled brush or a duct cleaning tool.
Don’t Forget To Check The Drain Hose
Like the drainage system, the drain hose might be stuck from dirt and debris, leading to water damage. Inspect the drain hose regularly and clean it if needed.
These were all the safety precautions. Ensure to follow them properly to avoid any inconvenience while cleaning the RV AC.
Step-By-Step Guide To Clean RV AC Unit
A clean and adequately maintained AC is critical to a comfortable journey. The most essential component of the RV comfort system is an air conditioner. Keeping it clean will keep the inner temperature cool and increase the incrincreaseac’s lifespan.
Filter Inspection And Cleaning
The first step is to locate the air filter, which you’ll find under the removable panel on the distribution box. Now look for tears, dirt, or clogging. If found, rinse the filter with clean water and mild detergent. Use a soft-bristled brush for cleaning. Ensure the filter is completely dry before reinstalling it.
Shroud Inspection And Cleaning
Climb the RV roof using the ladders, and be sure you are wearing appropriate footwear. Inspect the shroud for damages, cracks, or wear. Using a damp cloth, gently wipe down the shroud. If the damages are significant, consider replacing them.
Deep Cleaning The Coils
Remove the shrouds to access the coils. Use a soft-bristled brush to remove any visible debris gently. Then, Spray coil cleaner on all parts of the coil. If there is still dirt and debris inside, rinse the coils in warm water.

Checking The Seal
Use a flashlight to see the seal between the AC unit and the RV’s rooftop. If the unit is loose, tighten it using a screwdriver. If the gasket appears worn out, consider replacing it to ensure a tight and efficient seal.
Thermostat Maintenance
Turn on the AC and adjust the thermostat to see whether it’s working. If it isn’t, dust off the thermostat. If it still doesn’t work correctly, it should be replaced.
Tools And Supplies You’ll Need
You don’t need to buy any special tools for AC maintenance. All the tools required are easily accessible at home. These are some supplies you should have.
- Ladders: You’ll need ladders to reach the rooftop unit.
- Screwdriver: To remove the covers.
- A soft-bristle brush: To clean the dirt.
- Vacuum: For removing the debris.
Tips For Maintaining Your RV AC
It is essential to perform routine AC checkups every 6 months. You should occasionally clean camper AC components and, most importantly, replace the air filter. Some critical elements that need to be examined are the plastic cover, cooling fins, and the foam rubber gasket between the AC unit and the roof. These are some maintenance tips for you.
- Inspect the AC unit for debris and damage
- Wash the inner coils
- Clean the drains
- Replace the gaskets and filters
- Perform amp-draw tests
During winter, cover the AC with a plastic cover. The plastic cover will act as a shield to protect the AC from dirt and other elements.
Troubleshooting Common RV AC Issues
Your RV travel becomes an unpleasant journey without a working AC. Three leading causes behind an AC malfunction are lack of power supply, airflow, and improper usage. This guide will help you identify these problems and how to troubleshoot them. Troubleshooting the issues of time saves you from costly repairs.
Incase you need a repair, checkout RV AC Repair Near Me.
Lack Of Power Supply
AC needs a robust power supply to function, meaning if your RV requires 30 amp service, you won’t be able to run the AC for anything less than that. Like many 50 amp RVs have dual ACs, remember you won’t be able to run both units for anything less than a 50 amp service.
Use a voltmeter to check the AC voltages. Ensure the AC is getting enough volts to run smoothly. It takes 500W-2,700W to run an AC smoothly.
Lack Of Airflow
If the power supply isn’t the issue, AC airflow might be. That’s why cleaning the air filter at regular intervals is so necessary. If you haven’t done it before, clean the evaporator coil fins. Remove the dust gathered in the coils. Use a soft-bristled brush to avoid damaging the AC coils.
Once you have cleaned the filter and the coils, remove the shrouds to check for air blockages. Often, birds make their nests in such places, which restricts the airflow and reduces AC efficiency. Remove the nests gently and ensure no grass, fur, or hair is inside the shrouds.
Improper Usage
AC consumes a lot of power, so limiting the other large appliances while the AC is running is better. Avoid using a microwave or blender while using your RV AC. Using a high-voltage appliance alongside the AC might damage the unit.
Here are some tips to improve AC efficiency:
- Park your RV in shaded areas to limit AC stress.
- Keep the window shades closed.
- Avoid unnecessarily opening windows and doors.
- Install window treatments to improve RV insulation.
- Limit the number of people inside.
- Avoid cooking items that produce a lot of steam.
Final Words
This was your question, “How to Clean RV AC?”. We hope you found what you were looking for. Cleaning an RV AC is simple, but a slight mistake can cause costly repairs. Use proper tools and safety precautions before handling the RV AC.
By following all the precautions and troubleshooting tips, you’ll ensure your RV AC continues to provide reliable cooling, enhancing your comfort on the road. A well-maintained AC unit performs better and lasts longer, saving you money and providing you peace of mind in the long run. Safe travels, and stay cool!
FAQs
How To Clean RV AC Unit Dirt?
Use a hose with moderate water pressure and spray the unit from the inside out. This would allow you to remove the buildup and dirt gathered on the AC fins. Remember to follow the proper steps and tools to avoid damaging the RV AC system.
How To Clean RV Air Conditioner Coils?
To clean the RV AC coils, use mild detergent and water. Apply the mixture to the coils using a low-pressure sprayer. Let the coil dry naturally, or lightly rinse it with a garden hose.
How To Clean RV Air Conditioner Drain?
A clogged drain line stops the water from draining, resulting in leaking or water damage. Use a soft brush or compressed air to clean the drain line. Ensure there is no debris left that is obstructing the flow of water.
How To Clean RV AC Filter?
To clean the RV AC filter, first rinse it with clean water and mild detergent. Use a soft-bristled brush for cleaning. Ensure the filter is completely dry before reinstalling it.

